Print-Friendly PDF | Large Print PDF
Human guide technique is an effective way for people with visual disabilities to travel in unfamiliar environments. The following is an overview of generalized human guide skills, and is not a substitution for formal training in this technique. In addition, these procedures are sometimes modified based on an individual’s unique needs and preferences. Always ask the person with the disability how to best travel with them, and follow their instructions.
Ask and get permission
Guide: “Hi Maria. It’s Chris. Would you like to take my arm?”
OR
Traveler: “Chris, can I take your wing?”
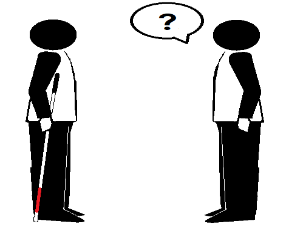
Initial contact
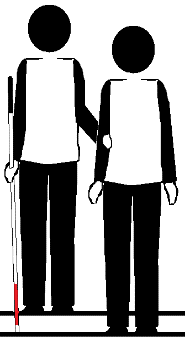
Guide: Touch the traveler's elbow, forearm or hand with the back of your hand.
Traveler: Grasp the guide's arm above the elbow with your fingers on the inside of the arm near the guide's body and your thumb on the outside near you. Use a firm grasp but do not use excessive pressure.
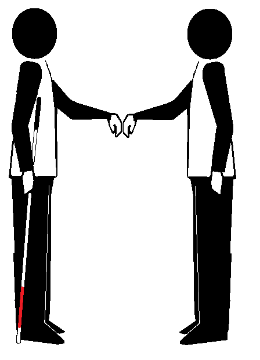
Basic technique
Guide: Stand with your arm relaxed at your side or bent at the elbow. Keep any bags on the opposite side of the person you’re guiding.
Traveler: Your arm should be bent at the elbow, with your shoulder behind the guide's shoulder, placing you one half step behind the guide. Walk at a pace that is comfortable for both people. The guide should not be "dragging or towing" you, and you should not be pushing the guide. The guide alerts if there is any uneven surface, such as a ramp or slope.
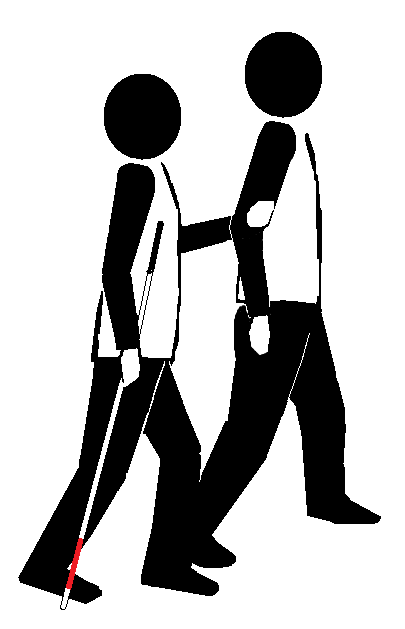
Narrow passage
Guide: Continue facing forward, and move your arm diagonally across your back.
Traveler: Straighten your arm and move directly behind the guide thus following effectively in single file. Take shorter steps to avoid stepping on the guide’s heels.
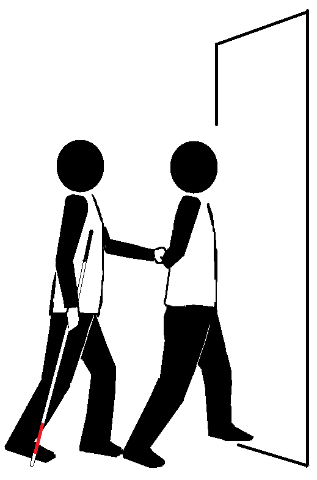
Closed doorways
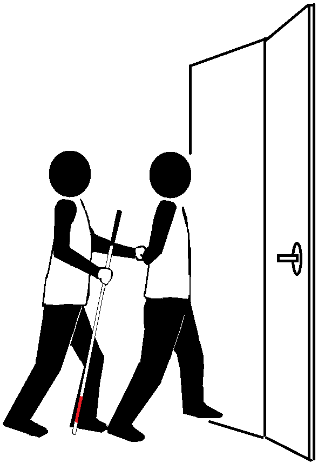
Guide: Tell the traveler if the door needs to be pushed or pulled, and whose side the hinges are on. Begin opening the door.
Traveler: If the hinges are on your side, maintain your grasp while supporting the door for yourself. If the hinges are on the guide's side, place your free hand above your original grasp as if you are beginning to change sides. Brace the door with your (newly) freed hand. When you have passed through the door, reverse this process and assume your original grasp.
Stairs and curbs
Guide: Pause just before stairs, then take the first step up or down. Wait until the traveler says “ready.” Then take the stairs at a speed that is comfortable for both people. Try to stay one step ahead of the traveler. When you have taken the last step up or down, stop and wait for the traveler to catch up and be at your side.
Traveler: When the guide pauses, wait for their body to raise or lower to indicate if the stairs go up or down. Then, slowly bring your toes to the edge of the stairs. Locate and use the handrail if needed. Steady your body. Regulate your balance and posture. When you’re ready to take the stairs, say “ready.” As you ascend stairs, keep your weight on your heels. If descending stairs, keep your weight on your toes. Always try to stay one step behind your guide, maintaining a safe speed for both people. Be alert to your guide taking the last step and waiting for you to do the same.
Locating objects and seating
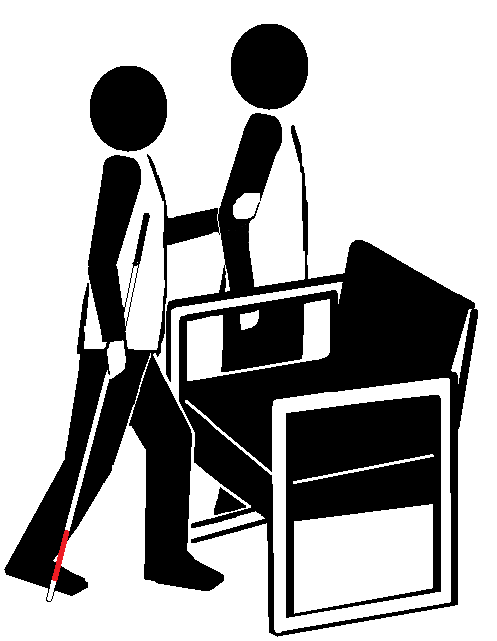
Guide: Guide the traveler to the back of the empty chair. Place your guiding hand at the top of the back of the chair.
Traveler: Slide your holding hand down the guide’s arm to locate the chair. Sit down.
OR
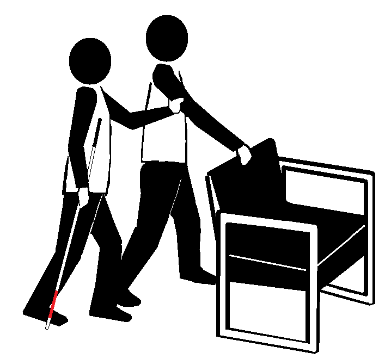
Guide: Tell the traveler that you are taking them to an empty chair that is facing them. Lead them to the front of the chair so they are facing it.
Traveler: Keep your hold on the guide as you take small steps towards the empty chair that is facing you. Feel the front of the chair with both shins. Release the guide. Turn 180-degrees. Feel the chair’s front with your calves. Sit straight down.
Dog guide
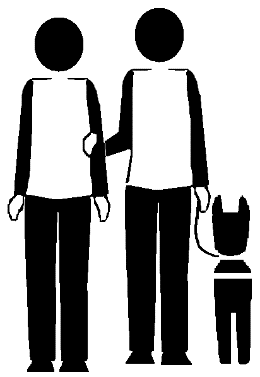
The dog guide user (aka handler) will drop the harness, take the leash, command their dog to heel, and take the guide’s arm. The guide and the handler follow the human guide skills are described above. (Alternatively, the handler will ask the guide to travel slightly ahead of the handler, and will command the dog to follow. In the latter case, the handler does not touch the guide.)
Walker
For basic technique, the guide holds onto the person’s arm at the elbow, and directs movement with gentle pressure. Alternatively, the guide holds onto the top of the person’s hand, and directs movement with gentle pressure.
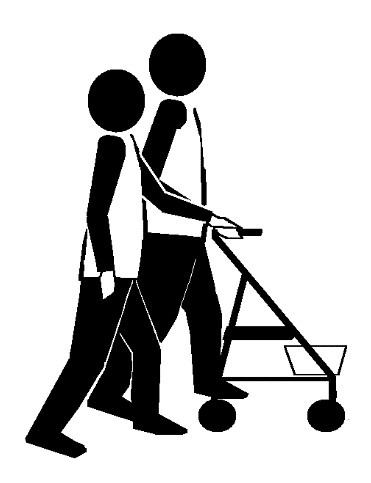
For narrow passages, the guide stands facing the person. Guide holds onto the top of the person’s hand, and directs movement with gentle pressure, while Guide walks backward slowly and carefully. (Use this technique when going through doorways, around people/objects, etc.)
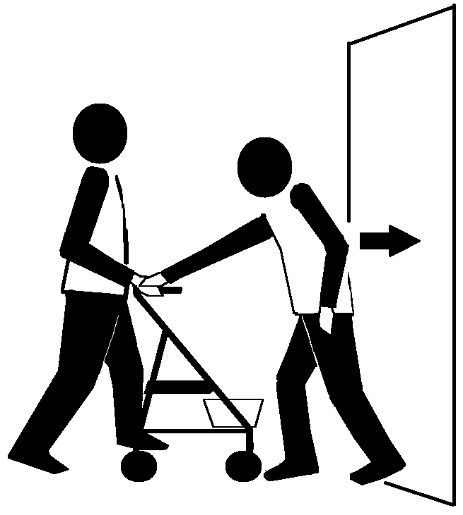
For closed doors, the guide positions the person so the person is facing the door. Then the guide tells the person where the hinges are – on the right or left. The guide opens the door, while keeping the walker close to the door. The person being guided reaches toward the door to keep it open (and to close it if need be) after both persons have cleared the door.
More information
For additional information or to request in-person training on human guide technique, please contact the Northwest ADA Center.
 The Northwest ADA Center is a member of the ADA National Network.
This fact sheet was developed under grant from the Administration for
Community Living (ACL), NIDILRR grant #90DPAD0002. However, the
contents do not necessarily represent the policy of the ACL, and you
should not assume endorsement by the federal government.
